You need a teacher gift. Or a thank you gift. Or an easy grandparent gift.
You can’t spend a lot, but you still want a special and unique gift, right?
Here’s the perfect solution: DIY Sharpie mugs.
You know-using special oil-based Sharpies to write a fun design on a plain mug, and then filling it with a gift card or some other treat? DIY Sharpie mugs are a fun gift to give, and an especially easy gift for kids to make.

Why I Love DIY Sharpie Mugs as Gifts
- Sharpie mugs are super versatile gift and can be used for almost any occasion.
- DIY Sharpie mugs are the perfect gift for kids to make.
- Sharpie mugs are a cheap gift (I get my mugs at the Dollar Store) that anyone can personalize
- They’re so many fun (and dare I say even cool?) sharpie mug designs!
You can give Sharpie mugs for:
- Teacher Appreciation Day
- Mother’s Day/Father’s Day
- Birthdays
- Christmas
- Graduation
- Thank You gifts
- Get well soon
- Or just to send a little encouragement!
But before you grab your sharpie and a mug and go to town, I need to share with you a few important tricks.
Because if you use the wrong kind of Sharpie pen (be sure to use these!), and if you don’t follow a few simple steps, your mug masterpiece will quickly slide down the drain the first time you wash it.
Not exactly the effect you want, right?
Also (along with the important how-tos) I want to share:
- 6 awesome sharpie mug designs; and
- 20 ideas of what to fill your sharpie mug with
How to Make Your Sharpie Mug (The Right Way)
You’ll need:
- A ceramic (not plastic) mug (use these if your Dollar Store doesn’t carry ceramic mugs)
- Oil-based Sharpie markers (these are not the typical water-based ones you have at home. You need these oil-based ones or the marker will wash off.)
- Damp paper towel
- An oven
1. First, pick your Sharpie Mug design.
Here are 7 sharpie mug designs that I came up with recently (plus one my daughter made!):

Or, go here and you’ll find tons of inspiration too.
2. Next, sketch your sharpie mug design on a piece of paper.
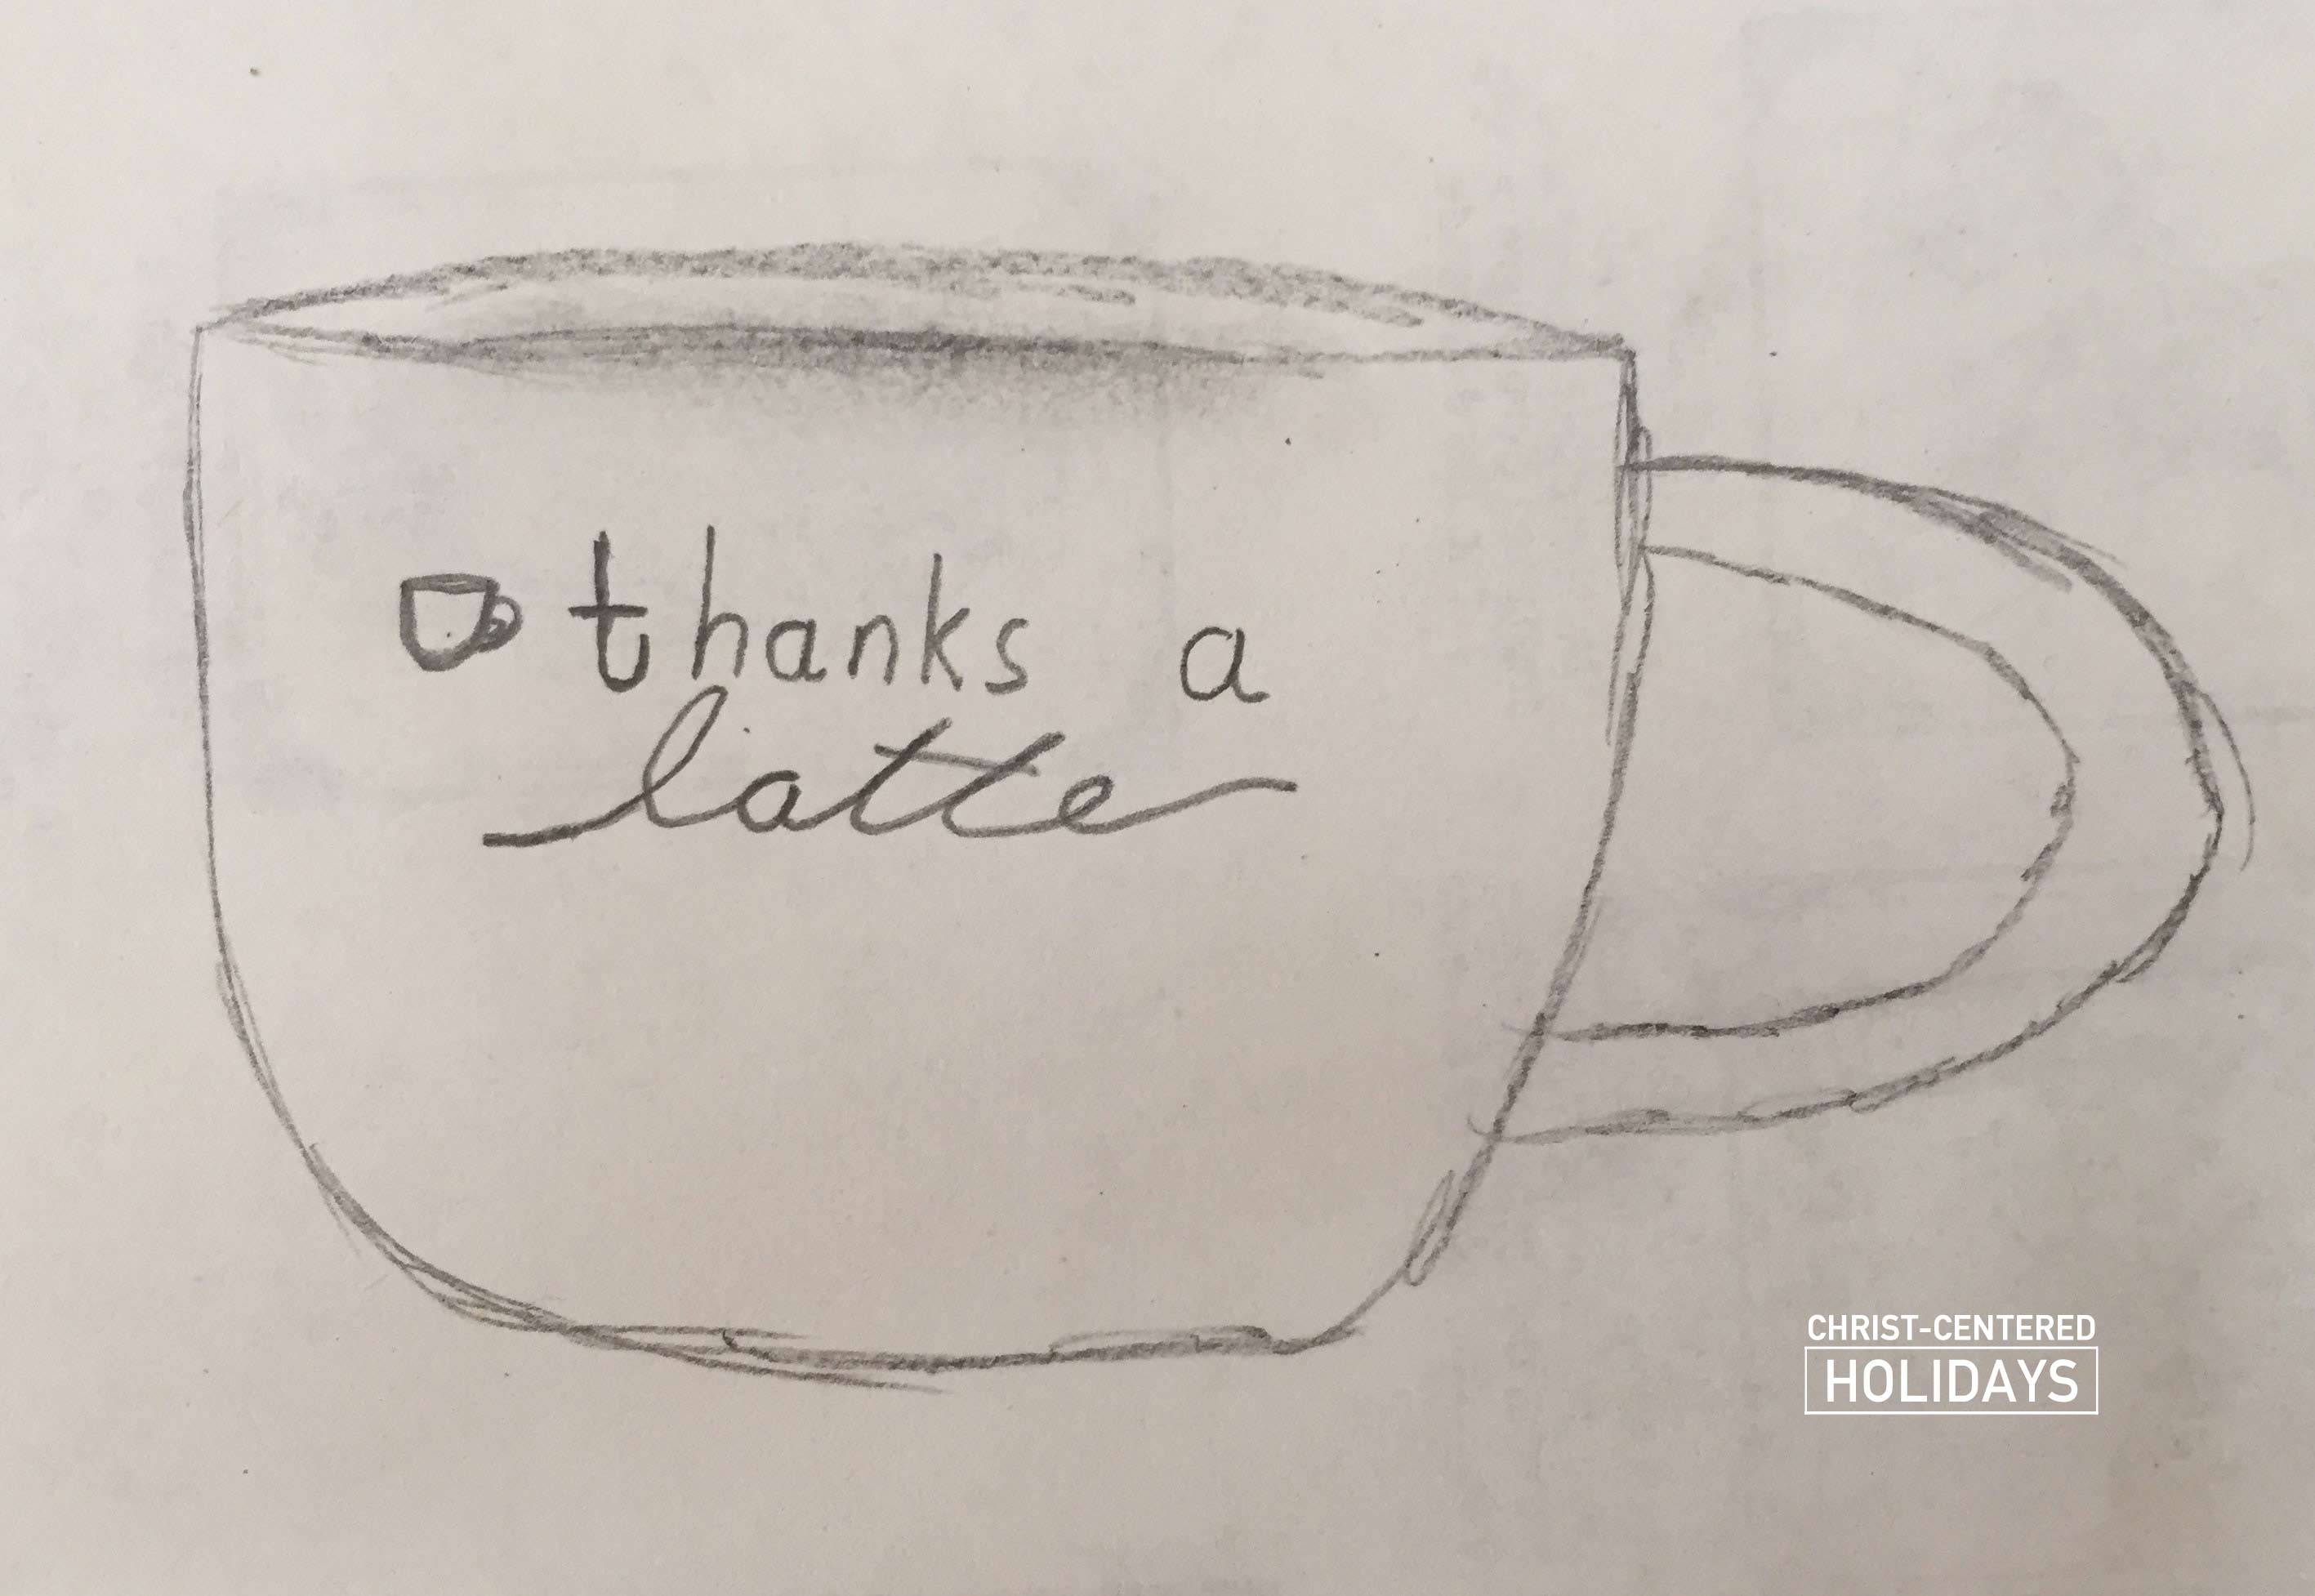
Here’s my tip: think simple.
Use phrases with only a few words, and make sure your design fits into a space that can be seen from one angle (without turning the mug).
You want lots of white space so that it doesn’t feel crowded. And, in most cases, I’d stick to two colors (maybe three) max.
3. Last, draw your design on the mug with a sharpie.

This is the scary part. My advice? Breathe deep. Trust yourself. And just start drawing.
It’s kind of like jumping off a dock-you just have to do it! Yes, that first sharpie mug is the most intimidating, but after that it gets easier and easier.
And… if you make a mistake, you can wipe off the pen with a damp paper towel as long as you do it right away. And remember, if you totally hate it, you can always go to the sink, wash it off and start over.
4. Let the sharpie mug(s) dry for about an hour. Then place the mug(s) in a cold oven.

Close the door and set the oven to 350 degrees F. Once the oven has heated to 350, let the mug(s) stay in there for 30 minutes.
Then, turn the oven off, leaving the mug(s) in there with the door closed until they slowly come back down to room temperature.
It’s important that they’re slowly heated from room temperature to high heat and then slowly back down to room temperature so that the mugs don’t crack.
This process takes a while, so start it in the morning and then let it cool throughout the day.
Be very careful not to touch the mugs while they’re cooling-they will be very hot!
To make sure the design really sticks, I repeat this oven firing process. You can also spray the outside with acrylic sealant, but I prefer to not add chemicals.
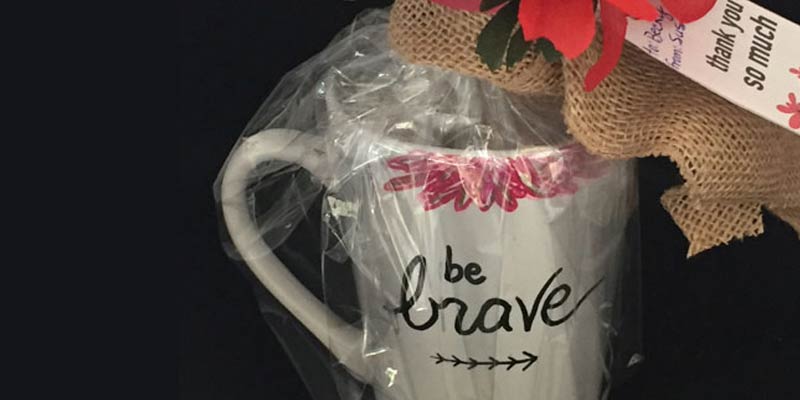
5. Next, choose your sharpie mug’s filler and wrap it up.
Is this a mug for a child, or maybe as a friend’s birthday gift? Or maybe it’s a thank you gift for a teacher or soccer coach?
Pick your contents based on what you think your receiver would love.
Here’s a few ideas to get your wheels spinning:
- Make a candy bar bouquet
- Include a small book or mini journal and pen
- Fill the mug with a pot of fresh flowers
Wrap Up Your Sharpie Mug and Make It Look Pretty
Use clear cellophane to wrap up the package and tie it with a ribbon (I use whatever’s on hand that would match).
That’s it! Easy-peasy, right? I’m telling you, making Sharpie Mugs is addicting.
I have a hard time giving them away. (Confession… I decided to keep many of the Sharpie Mugs from this batch I showed you).
